If you’d like to learn a creative hobby, try candle making for 3 simple reasons: affordable, easy-ish, and fun. What’s the worst that could happen? You’ll learn something new and you’ll have thoughtful gifts to give to friends and family.
This guide contains everything you need to make candles at home, using easily accessible materials and simple techniques.
Getting Ready
As a beginner, the best way to start is with a candle making kit because it will have everything you need to make about 4-6 candles. However, there are items usually not included in a kit that you’ll most likely have to purchase serperately. For instance, a scale is not typically included in kits but is necessary to measure your wax and fragrance. Also, if your kit doesn’t have a thermometer, you will need one to make the best candles possible.
Supplies Usually Found in Candle Making Kits
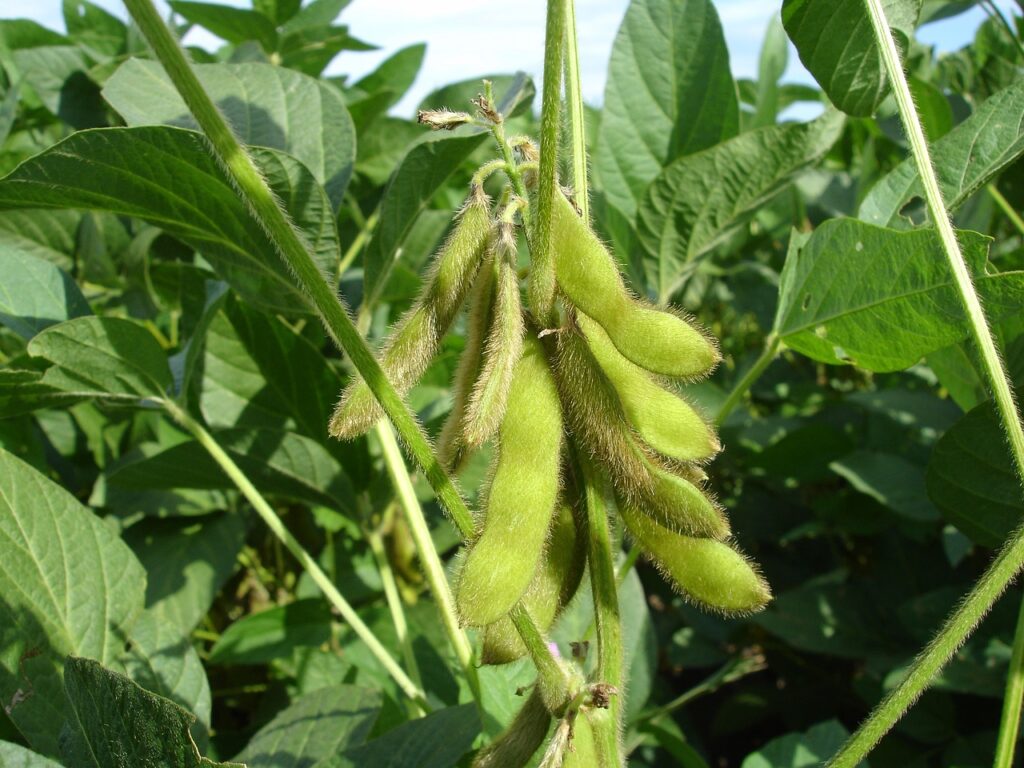
- Wax: Kits feature different types of wax, including soy wax, beeswax, and paraffin wax. Choose the wax you’d like to try.
- Wicks: Wicks made for the wax and container size will be included (what a relief, trust me) to ensure your candle burns properly.
- Wick stickers: Adhere the wicks to the bottom of the jar so they stay in place when you pour the wax.
- Wick holders: Hold the wick in place after the wax is poured to keep it straight as it dries (a hack for this is using 2 pencils on either side of the wick or a clothespin).
- Fragrance oils: A few selections made for candles.
- Dyes: Liquid dyes or dye chips made for candles.
- Containers: Jars or tins to hold the wax.
- Heat-resistant container: A stainless pouring pitcher to melt and pour the wax.
- Thermometer: Measures the temperature of the wax. (sometimes not included)
- Warning labels: To place on the bottom of your candle.
Supplies Usually Not Found in Candle Making Kits
- A scale: A small digital scale to measure the wax and fragrance.
- Stirring utensil: Stir the wax with a wood or silicone spoon.
- Wick trimmers: These are nice to have to trim the wicks, but you can start with scissors.
- Double boiler: A method used to melt the wax in which the pouring pitcher is placed in a bigger pot of boiling water, so you need a big pot.
- Aluminum foil baking pan: Keep your countertop clean with a small to medium-sized pan to place your jars in and then pour the wax. You can also place one on top to prevent any debris from getting on them while they cure.
The kit will come with instructions or you can even take a class. Another great way to familiarize yourself with the process is YouTube. Search for “beginner candle making” or “how to make candles” and see what I mean.
Two channels to check out are Black Tie Barn and Memory Box Candle Co. Another resource you may find helpful is Candle Science. What are you waiting for? Let’s make some candles.
Step 1: Melt the Wax
Now that all your materials are ready, it’s time to melt the wax. Prepare your double boiler by filling the bottom pot with water and heat until boiling.
While waiting for this, place the pouring pot on the scale and reset it to zero (you can “zero out” a scale by putting the pouring pitcher on the scale and pressing the “tare” button, which will reset the numbers to zero). Now, you will get an accurate measurement of the wax, without the pouring pot.
With your pouring pot on the scale (which now reads zero), measure your wax and then place the pouring pot in the boiling water. Stir the wax occasionally until it melts completely.
This is where you need your thermometer. For the best results, follow the melting temperature guidelines provided by the wax manufacturer because different types of wax require different pouring temperatures for optimal outcomes.
Step 2: Adding Color and Fragrance
Adding color to your candles is a simple process. All you need to do is add candle dye or dye chips to the melted wax until you achieve your desired color. Make sure to stir gently to ensure an even color.
As far as adding fragrance, it’s one of my favorite things about making candles. So many choices! It’s crucial to use a fragrance oil that’s designed for candles and adhere to the recommended guidelines for the appropriate amount to add, which is typically around 10% based on the type of wax used (this is a fragrance load).
Warning: if you think adding more fragrance will give your candles a stronger scent, it will not. Doing that will ruin your candle, so no.
When weighing the oil, you can use a small Pyrex measuring cup or a Dixie cup (remember to zero out the scale). After measuring, pour the fragrance oil into the melted wax and stir thoroughly, allowing the scent to disperse evenly throughout.
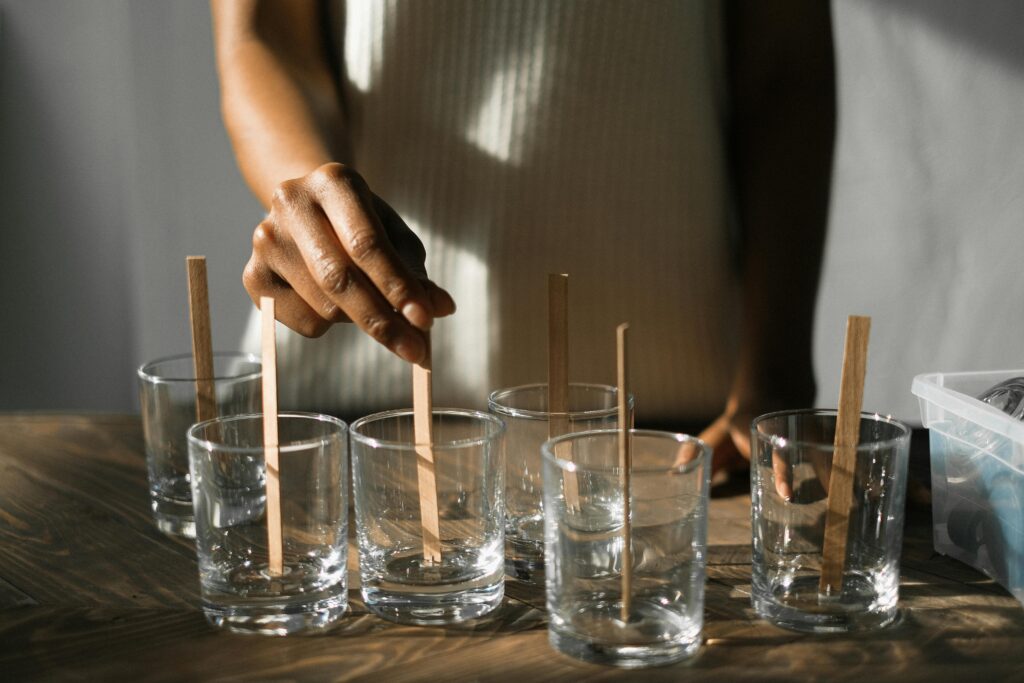
Step 3: Preparing the Container and Wick
This step can be done while the wax is melting or the first thing you do. Just attach the wick stickers to the bottom of the wick tabs, and then place the wicks in the center of the jar (pro tip: there are wick-centering devices that can be used for this).
Once you have securely attached the wicks to the bottom of all your jars, you are good to go. Now place the jars in the aluminum foil baking pan.
Step 4: Pouring the Wax
It’s time to pour the melted wax into the wicked jars. Once the wax reaches the desired temperature, and you have added the color and fragrance oil, pour it into your containers.
It is important to pour it slowly to prevent the formation of air bubbles and to ensure a smooth and even finish.
After they are all poured, place your wick holders on top of the jar and secure them, making sure the wick is straight and centered to ensure an even and safe burn.
Step 5: Allowing the Candle to Cure
After you’ve poured the wax, it’s important to let the candles cool and solidify. Avoid moving or touching them during this time to prevent any imperfections from forming.
If your candles are in a baking pan, now you can put one on top to prevent anything from getting on your candles while they cure.
To know how long to wait, check the manufacturer’s instructions for the specific type of wax. The wait time can range from 1-2 days to a week.
Step 6: Trimming the Wick and Enjoying Your Candle
You’ve waited and your candles are cured, so it’s time to trim the wick. Use wick trimmers or scissors to trim it down to approximately ¼ inch to ensure a clean and steady burn.
Place the warning label on the bottom.
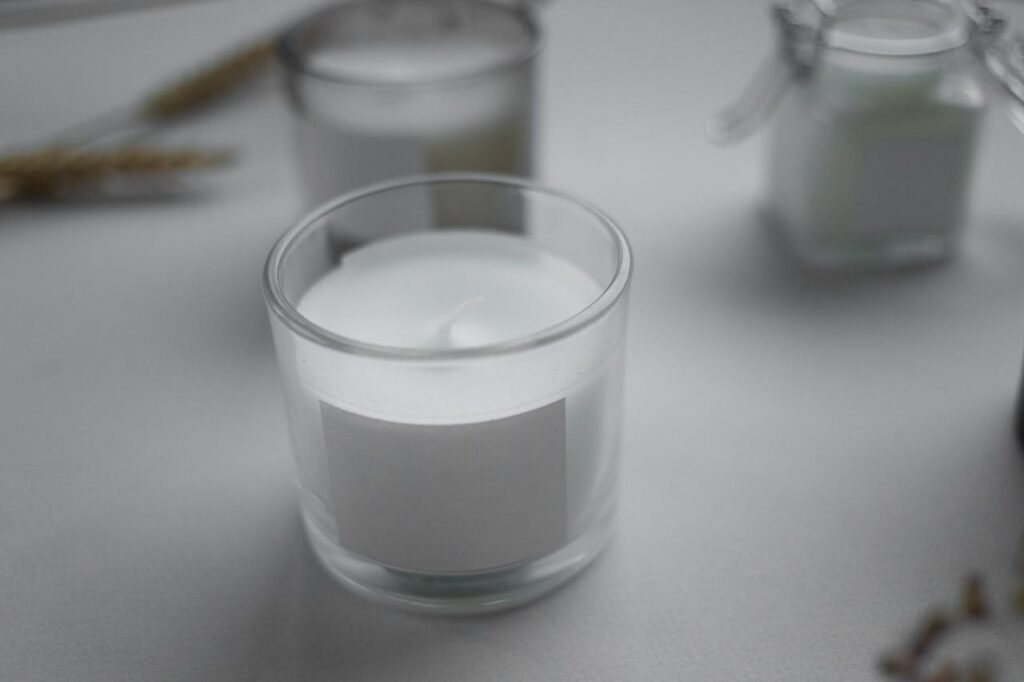
You did it! Now, light your homemade candle and enjoy the warm glow and amazing fragrance that you’ve created!
The Next Steps
I haven’t mentioned labels in this guide, but if you decide you love this and want to continue on your candle making journey, they are an important next step.
Many resources are available to help you get started. Two popular options to print your own labels are Avery.com or Onlinelabels.com. They both offer blank labels, templates, or you can upload your own des