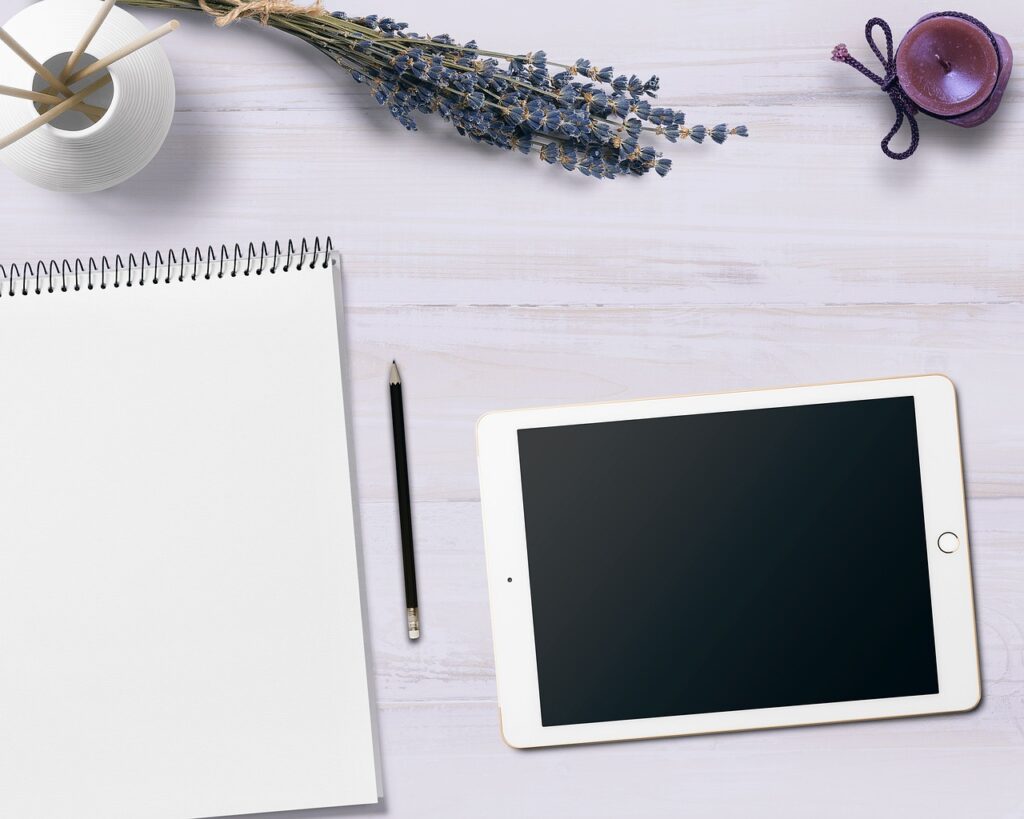

Now that we know the label requirements, how do you make them? What do you want your labels to look like? If you’re just beginning your candle making journey, you probably want to create and print labels yourself. But what should you consider for the label itself and for the design? Let’s explore further.
What Makes a Good Candle Label?
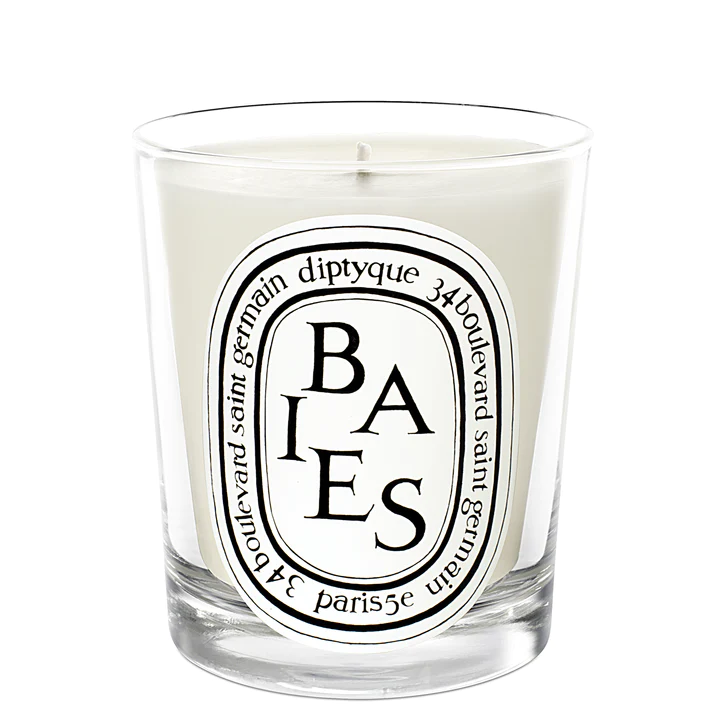
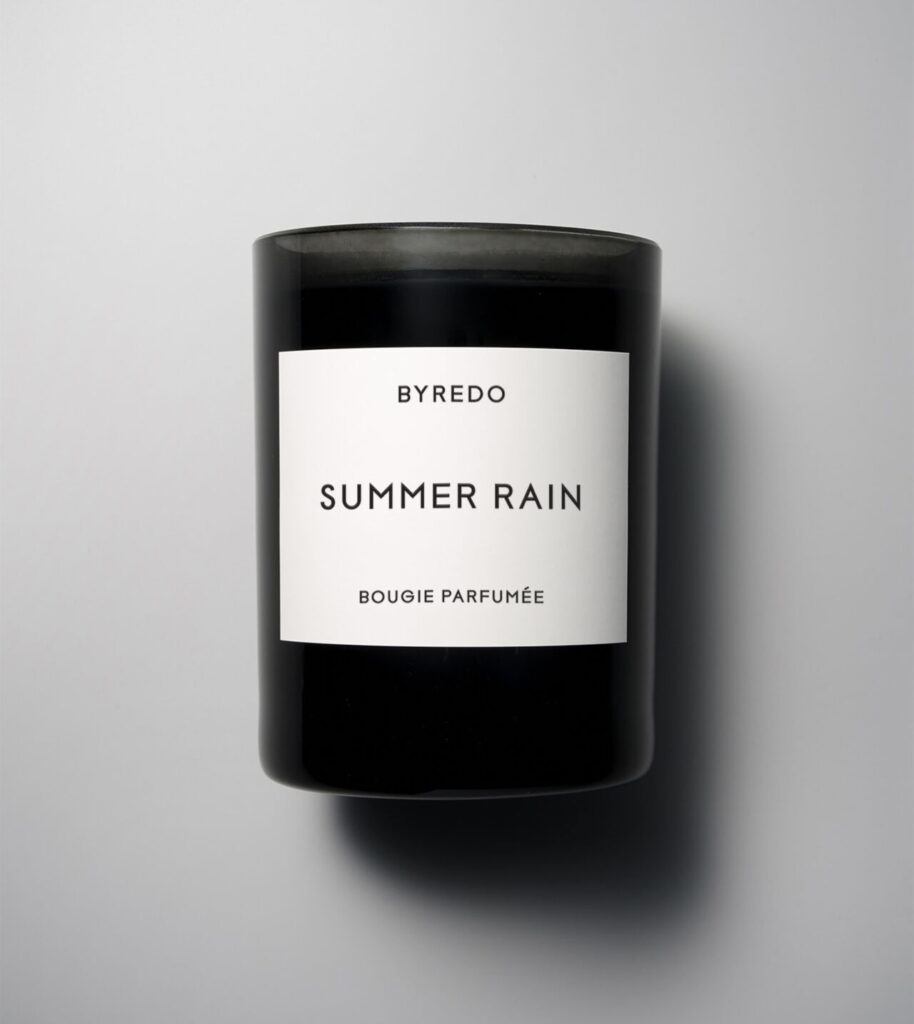
The label is important. The look of your label can influence whether someone buys your candle online or in-store. Even if you have done the testing and created the best-smelling candle, a compelling label is crucial for attracting potential customers.
Think of the times that you bought a candle. What made you pick it up in the store? What made you put it in your online cart? Something about the label made you think it was a candle worth buying. That’s what you want for your candle label. There are many decisions to consider, so here we go.
Emotion
When designing your candle label, consider the emotions you want it to evoke. Emotions can heavily influence purchasing decisions, so remember this during the design process.
From the beginning, identify your theme and make that the main focus of your label design. Ask yourself, “What are my candles about?” Then go with a vibe for your labels that best represent your theme: Minimalist? Fancy? Fun? Artistic?
Choose the Label
Size and shape: Of course, the size of the label you need will vary based on the size of your container. Use a ruler to measure the area where you want to place the label and choose the corresponding label size for the container. Cut out the shape you want to use on a piece of paper with the correct measurements.
You have choices for the shapes, including rectangles, squares, circles, triangles, or custom shapes. To further help you with the size, Avery Labels has a candle label chart to help you find the correct label size for your container. Onlinelabels.com has online label size guides and a printable ruler, with instructions on how to use it.
Color: You have the choice of white, clear, Kraft (providing a natural look), or a color option. Also, you can opt for glossy or matte finishes.
Now the Design
So, you’ve made some decisions about the feel, size, shape, and color of your label. What’s next? Let’s go over some design basics that will help your label stand out. When you are designing your label, think of it as a little piece of art. A good idea is to go old school and sketch it out on paper cut to the label size you want to use.
Font Matters
The font is important in a small design space. There are so many to choose from it can be overwhelming. People have careers in typography, and if you’re one of them, I’m sure you’re not reading this. But for the rest of us, where do you start?
Well, there are 4 categories, serif, sans serif, script, and decorative. You definitely know Times New Roman (which is a serif font because it has very small lines attached to the letters) and Calibri (sans serif). There is also script and decorative. There are a bazillion fonts, so you have some decisions to make.
Consider the following for your label:
- Make it easy to read.
- Don’t crowd your label.
- Only use 2-3 different fonts.
According to Design for Hackers, don’t use comic sans – it’s considered one of the worst font types by designers, I had no idea…
Check out brands you like and see what fonts they use for their labels. Use this as inspiration for your design. Just don’t use comic sans.
Area: bleed and safe zones
Save yourself from printing frustration and pay close attention to the borders to ensure nothing gets cut off during printing. Because the space is so limited, it’s easy to go too close to the border. This happened to my first labels when I had a border too close to the edge and wasted many labels trying to get it right.
To avoid this stay in the safe zone, which is the area in the middle that will not get cut off during printing. The measurement for this, according to onlinelabels.com, is a 1/8” or 0.125” area around your design.
The area outside of the safe zone is called the bleed zone. This is where some parts of your design may get trimmed during printing.
Graphics
Adding design elements to convey your message could be challenging due to the small design area. However, it might be worth considering as it can enhance the overall impact of your message. Make sure your design doesn’t overwhelm the space.
Materials Needed
You’re ready with the design, now what do you need? When it comes to making labels for your candles, there are a few essential materials you need to get started. Here are the main items necessary to create high-quality, professional-looking candle labels.
Label Paper
You need the right label paper. You have to select durable labels, and most importantly, heat resistant. Professional label companies provide labels safe for candle use.
Label Design
When creating labels, there are various platforms to choose from. You can find free online tools as well as paid options. Some popular choices include Canva, Adobe Illustrator, and Inkscape. When selecting software, make sure it has the features you need to create the design you want. For more advanced skills, Adobe Illustrator is a great option, but for beginners, Canva is the best to use as it offers a free version that is easy to use.
Printer and Ink
Now that you have created your labels, it’s time to print. For your labels to look their best, use a quality printer that can produce sharp and vibrant images. If you don’t already have a printer (or need to upgrade), you need to decide between an inkjet or laser printer. Take some time to consider the features of each before making a decision. Once you have selected a printer, be sure to choose the ink that is compatible with it.
DIY: Design and Print
For DIY labels, print services like Avery.com and Onlinelabels.com offer pre-designed and blank templates to help you design your labels. You have the option to upload your own design and print labels on your own, or you can choose to have them printed for you at a reasonable cost and there is no minimum order quantity.
More companies offer this service, but these are both user-friendly, popular choices to start with.
Now get going on your labels! I’m starting with Canva for my design and then using onlinelabels.com. What will you use?