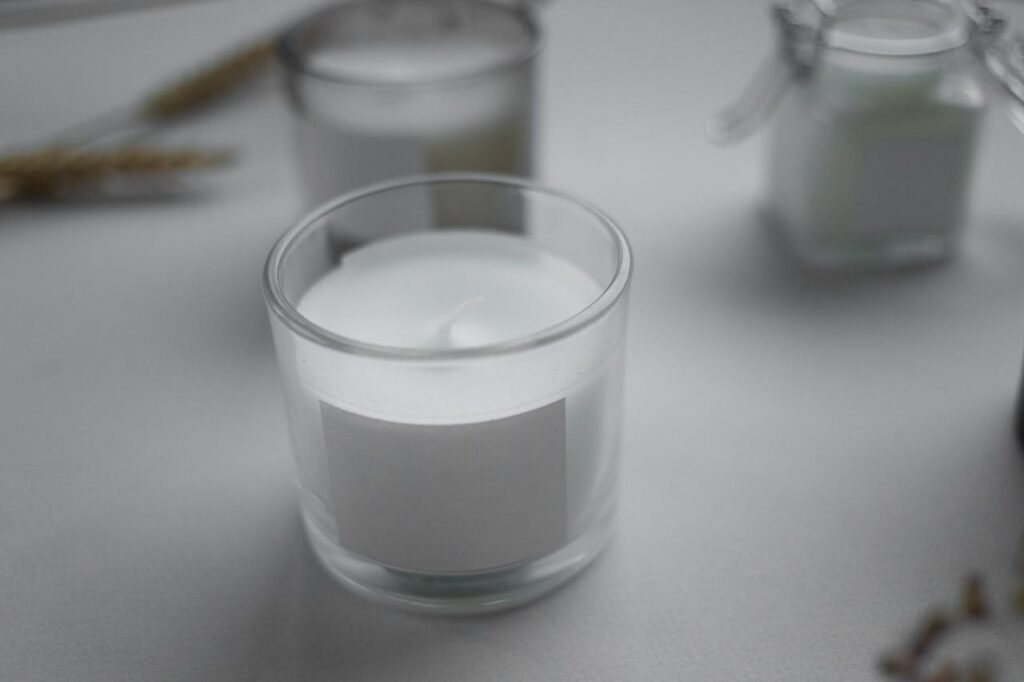
Ever wondered if you could create your own candles, perfect for gifting or personal use? What if you could even sell them? If you’re asking these questions, it’s time to try candle making. In this guide, we’ll walk you through the step-by-step process of crafting soy wax candles at home.
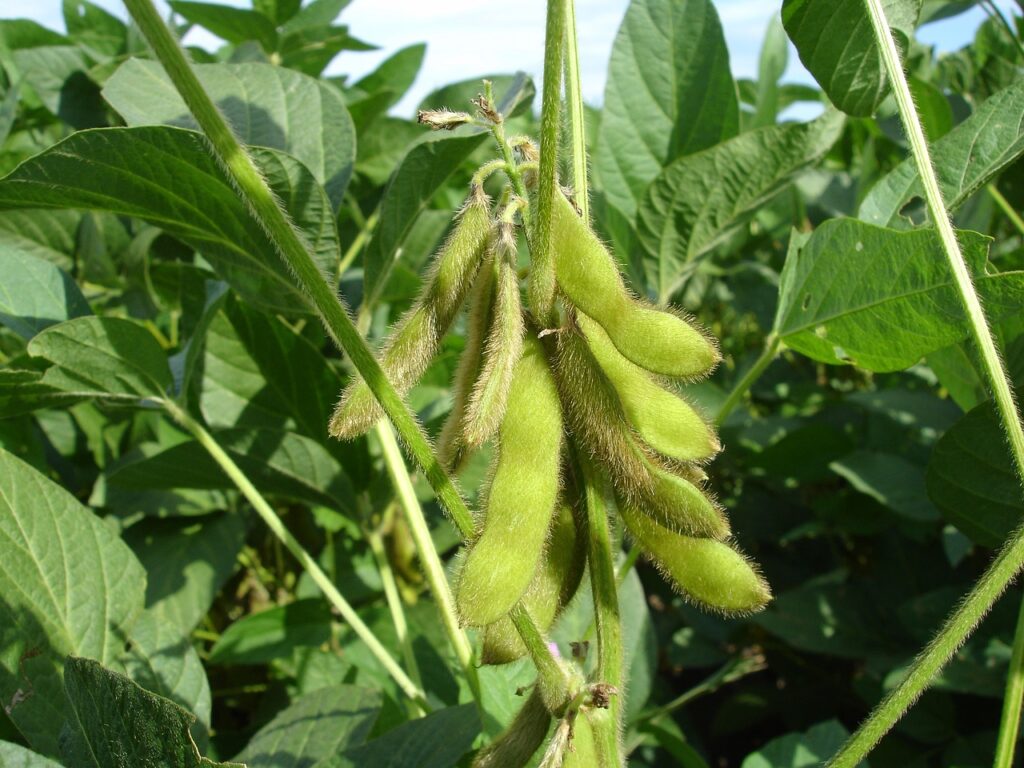
Before we start, choosing soy wax candles are a great alternative to traditional paraffin wax candles. Soy wax is made from soybeans, a renewable resource, and is biodegradable. This means that soy wax candles are better for the environment and your health.
By choosing soy wax, you can enjoy a cleaner and healthier candle-burning experience. Now, let’s get started on making your own soy wax candles!
Materials and Tools Required
Choosing the Right Soy Wax
When it comes to making soy wax candles, choosing the right wax is important. There are many types of soy wax available, so check them out and see what works for your needs.
Some popular waxes include Golden Brands 464 Soy Wax (my favorite), EcoSoya CB-Advanced Soy Wax, and NatureWax C-3 Soy Wax.
Consider the melting point, fragrance load, and burn time when selecting a wax. Soy wax has great scent throw and a long burn time. It also comes in easy to use flakes making it a great choice for beginners.
Two places to buy quality soy wax is Candle Science or Candles and Supplies.
Selecting Wicks
Choosing the right wick is just as important as selecting the right wax. The size and type of wick will affect the burn time and performance of your candle. The size of the wick should be based on the diameter of the candle.
A wick that is too small will result in a candle that burns too slowly and may not melt the entire surface of the wax. A wick that is too large will create a candle that burns too quickly and may produce excessive smoke.
There are several types of wicks available, including cotton, hemp, and wood. Cotton wicks are the most popular and widely used for soy wax candles. They are affordable, easy to use, and produce a consistent burn.
Hemp wicks are a good alternative for those who prefer a more eco-friendly option. Wood wicks provide a unique crackling sound when burning, making them a popular choice for candles.
Gathering Additional Supplies
In addition to soy wax and wicks, you will need a few additional supplies to make soy wax candles at home. These include:
- Candle containers: Choose containers that are heat-resistant and safe for candle making. Glass jars are a popular option, but you can also use metal tins or ceramic containers.
- Fragrance oils: Use high-quality fragrance oils specifically designed for candle making. Be sure to follow the recommended fragrance load for your chosen wax.
- Dye: Optional, but if you want to add color to your candles, you’ll need candle dye. Liquid dye is easier to work with than solid dye.
- Thermometer: A thermometer is essential for monitoring the temperature of your wax. This ensures that the wax is at the correct temperature for pouring.
- Double boiler: Use a double boiler to melt your wax. This prevents the wax from overheating and ensures a smooth, even melt.
- Pouring pitcher: a metal pitcher with a spout and a heat-proof handle made for melting and pouring wax.
- Digital scale: If you want to make quality candles you must weigh your wax and fragrance oils.
- Stirring utensil: Use a heat-resistant stirring utensil, such as a silicone spatula or wooden spoon, to stir your wax.
- Heat-resistant surface: Place your candle containers on a heat-resistant surface, such as a silicone mat or metal tray, to protect your work surface from heat damage. An aluminum roasting pan works great.
Preparing the Workspace
Safety Precautions
Before you start making soy wax candles, it’s important to take some safety precautions to avoid any accidents. Here are some safety tips to keep in mind:
- Always work in a well-ventilated area to avoid inhaling fumes from the melted wax.
- Wear protective clothing, such as an apron and gloves, to prevent burns from hot wax.
- Keep a fire extinguisher nearby in case of any accidents.
- Never leave the melting wax unattended on the stove or any heat source.
By following these safety precautions, you can ensure a safe candle-making experience.
Setting Up the Work Area
Now that you’ve taken the necessary safety precautions, it’s time to set up your work area. Here are some steps to follow:
- Choose a flat and stable surface to work on, such as a kitchen counter or a table. Make sure it’s clean and free of any clutter.
- Lay down a silicone mat (or aluminum roasing pan) to protect your work surface from any spills or drips.
- Gather all the necessary materials, such as soy wax flakes, a double boiler, a thermometer, fragrance oils, wicks, and containers.
By following these steps, you can create a comfortable and organized workspace for making soy wax candles.
The Candle Making Process
Melting the Soy Wax
To melt your soy wax flakes, I recommend using a double boiler (this is what I use). Start by filling the bottom pot with water and place the pouring pitcher (with soy wax flakes) in the bottom pot.
Heat the water to a simmer and stir the wax until it melts.
Securing the Wick
While the soy wax is melting, you can secure the wick to the container. You can use a wick centering tool or a pencil to keep the wick in the center of the container. To make this easy, there are wick tabs that stick to the wick and the bottom of the jar (this is what I use).
If you’d like, you can use a glue gun to secure the wick. Simply glue the metal base of the wick into the center of the container. Hold the wick in place until it hardens.
Pouring the Wax
Once the soy wax is melted and the wick is secured, you can pour the wax into the container. Pour the wax slowly and steadily, making sure not to spill any wax. The tempererature is very important for pouring. For example if you use 464, wait until the temp cools to about 135 degrees F.
Adding Fragrance and Color
When it comes to fragrance oil, you have to use quality fragrance oils made for candles. You can find these at candle supply companies, like Candle Science. Fragrance oil needs to be measured and added at the correct temperature. For 464 soy wax, you should add your fragrance at 185 degrees F. Add the fragrance oil to the melted wax and stir it well. You can also add color to the candle by using candle dye. Stir the color into the melted wax until it is evenly distributed.
That’s it! You have successfully made a soy wax candle. Allow the candle to cool and harden for about 2 weeks before lighting it.
Curing and Finishing Touches
Curing the Candles
Once your soy wax candles have finished cooling, they need to cure for at least 24-48 hours up to two weeks before they are ready to use (I always wait for at least one week). Curing allows the scent to fully develop and the wax to harden, ensuring better burn quality.
During the curing process, it’s important to keep your candles in a cool, dry place away from direct sunlight and heat. This will prevent any discoloration or melting. Place them on a flat surface and cover them with a clean cloth to protect them from dust. If you used an aluminum roasting pan when you poured your candles, use a second pan to cover them.
Trimming the Wick
Before lighting your soy wax candle, it’s important to trim the wick to 1/4 inch. This will prevent the wick from smoking and ensure a clean, even burn.
To trim the wick, use a pair of scissors or a wick trimmer to snip off the excess wick. Be sure to remove any debris or charred bits from the candle before lighting it.
In addition to trimming the wick before each use, it’s also important to keep the wax pool free of debris, such as wick trimmings. This will help ensure a safe, enjoyable candle experience.
Frequently Asked Questions
What is the ideal temperature for making soy wax candles?
It’s important to measure your temperature with a thermometer to ensure that the wax melts evenly and the fragrance is evenly distributed.
Here are 464 soy wax temperature guides:
Fragrance oil (FO): Heat to approximately 185 degrees F and add FO
Pour wax: 135 degrees F
How can I determine the amount of soy wax needed for a single candle?
To determine the amount of soy wax needed for a single candle, you will need to consider the volume of the container you plan to use. As a general rule, you’ll need 1 oz of fragrance for 1 pound of soy wax flakes. However, it is always best to measure the volume of your container and calculate the amount of wax needed accordingly. To make this easy there are free calculators available to help you. One is on Craftybase.com.
What is the process for making scented soy wax candles that have a strong fragrance?
To make scented soy wax candles that have a strong fragrance, always use high-quality fragrance oils. Be sure to use the recommended amount of fragrance oil for the amount of wax you’re using. For example, when using 464 soy wax, it’s recommended to start with a 6% fragrance load (with the max being 10%). Don’t go over the maximum percentage because that will ruin the way your candle burns. Also, let the candle cure for 2 weeks before burning to allow the wax to harden and the fragrance to fully develop.


